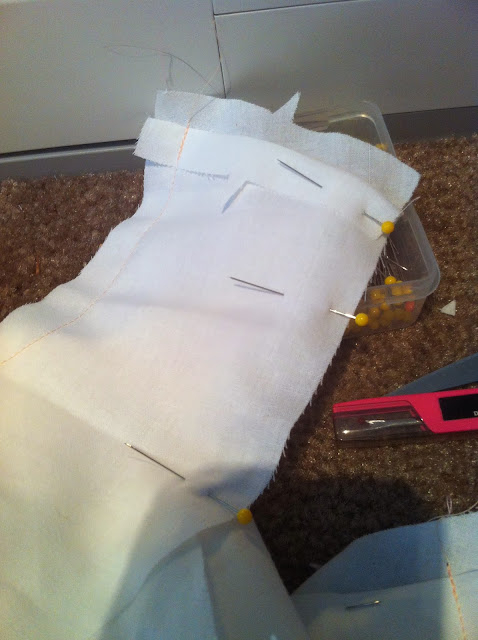
Well, this will be a short post today, because, yet again, I forgot to take progress photos until I was practically done. In my defense, I was thinking that I couldn't post about it, because this project was a birthday present for a surprise party for one of my best friends!
My friend Katie has always loved Aurora from Disney's Sleeping Beauty. Aurora is her favorite princess, her favorite color is pink, and she also likes to cook. So, in thinking about possible birthday presents, I thought about all those cute character aprons that have been all the rage lately. Unfortunately, I couldn't afford the really fancy, and even those I could potentially afford would have been stretching my budget and would never have made it in time for the party.
There are a ton of great options, and some good ones within a $30-50 range are available on Etsy. While I was searching, I came across these:
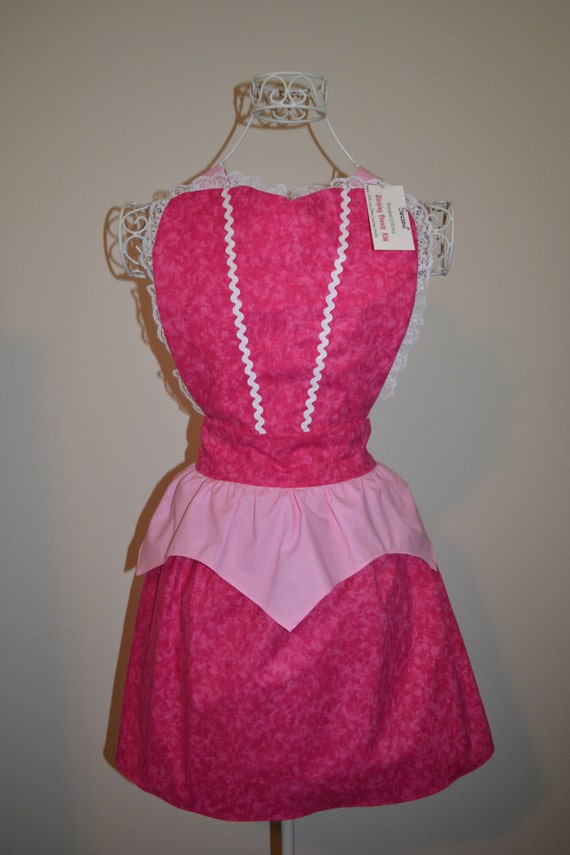 |
| From SozzoniStyle |
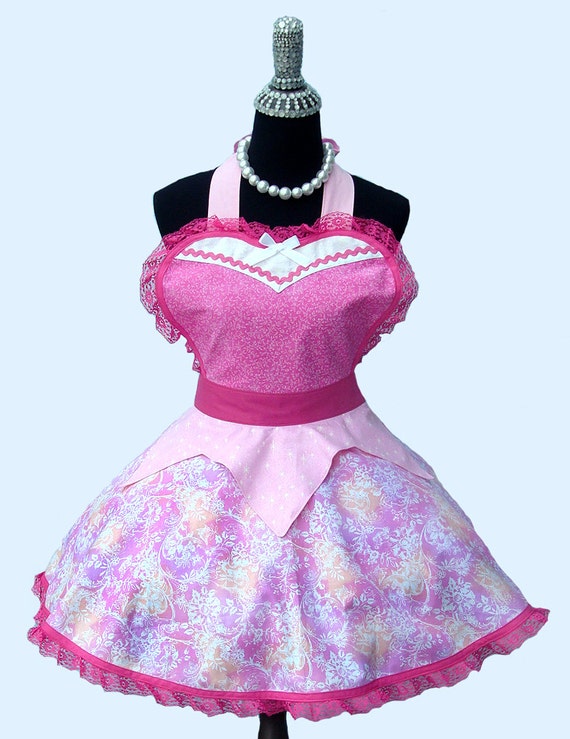 |
| From OnceUponAPoodle |
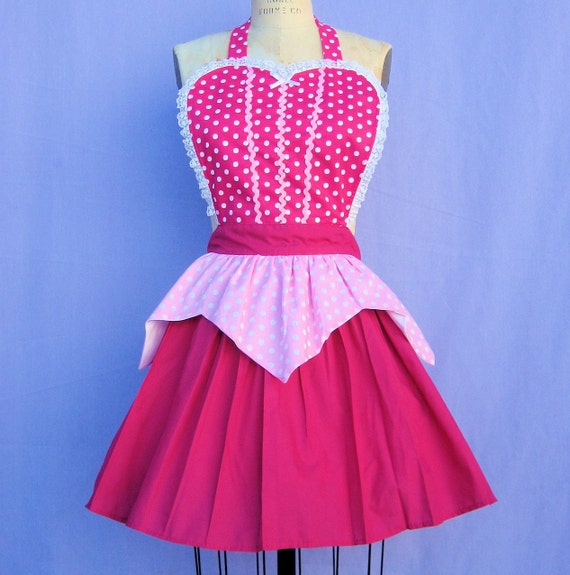 |
| From loverdoversclothing |
So, between time, budget, and design, I decided to take a chance and make one myself. I was halfway through experimentally making my first-ever apron, no pattern, no nothing, and it thankfully had already taught me a few tricks about the order of operations. Unfortunately, I was also running into plenty of difficulties. For Katie's, I didn't have time to do a mock-up, and the Aurora apron would be more complex than what I was currently making. I hunted through apron patterns at the fabric store, but none of them separated the top from the bottom in a way that worked with the design I wanted. So it was all up to brain power.
I spent an afternoon drawing out the basic design, figuring out some basic measurements, and writing down the steps in the correct order. Even with all that time planning, I still ended up changing things (realizing that certain steps worked better earlier or later), so I won't post my unedited scribbles. (Although if someone does want clearer instructions, let me know, and I'll try to write up a better version).
The fabric was just the basic bolts on the wall--I didn't want to use fancy-dress fabric for the sake of utility and upkeep, and the cotton bolts were the only fabrics that came in the right colors anyway. I decided to buy enough for outside and lining on all the pieces, especially since I don't have a serger. I didn't want any rough edges on this baby.
1. After washing and drying the fabric, I started with the top of the dress. I used an old sweetheart corset pattern to get the seams in the right places instead of mimicking them with ribbon or trim, like many of the aprons above. I ended up having to take it in in several places, as Katie is much than I am in height and frame, but I think I estimated it pretty well. I did this for the outside and a lining.
2. Then, I cut interfacing and two of the white fabric (front and lining again) to make the collar and sewed it into the lining. This was difficult with the interfacing and shaping, especially with how small the collar was. I also made the neck/shoulder ties, which were excruciatingly thin for turning right-side out after sewing. I stitched those on the edge of the corset lining, away from the collar.
3. I cut the over-skirt using the measurements of the newly sewn corset top. I eyeballed most of the measurements, so I can't say exactly how everything measured out. The big trick was leaving room for the seam allowances to sew front and lining together.
4. Using the same measurements, I cut the underskirt, but I added about 4 inches to the top and bottom measurements so that I could put pleats in according to Aurora's skirt. The pleats on the animated dress don't really work in real life, but at least it would give a hint of the original and add a little body to the skirt.
5. I basted the over-skirt to the corset front and then sewed the underskirt on top of it, making the pleats by pinning them in and then simply sewing all three layers together.
6. In the picture above, you can see how I finally took pictures after sewing the lining of the corset to the front, just along the neckline. This was the trickiest part to sew with the sweetheart corset and straight/pointy (and stiff!) collar. I ended up having to hand-stitch parts of it to get it just right.
 |
| We need side straps! |
7. I remembered at this point that I still needed the side straps, so I sewed those up and stitched them into the lining.
8. With all the pieces in place, I sewed the sides of the corset, making sure I didn't accidentally catch the skirt or straps.
9. As the last step, I hand-stitched the lining to the bottom seam of the corset front, turning the raw edges in and using an invisible stitch so it looked perfect. Sadly, I did not take a picture of this moment of subtle artistry.
And voila! A finished Aurora apron, modeled by yours truly. The top could probably have been taken in even more, but for a first attempt with no real pattern and without measurements for Katie, I think it turned out pretty well! The only other thing I would fix is the angling of the bottom of the corset. I designed it to come to a lower point in the middle, like Aurora's dress does, but I didn't cut enough from the top skirt, and it ended up straightening out. It looks great on the hand-stitched inside, but then you don't get the over-skirt. *sigh*
 |
| Excuse the mess of broken-down boxes and bed frame that compose the back wall of my craft room. |


