Navigation

Showing posts with label hip scarf. Show all posts

Sunday, February 16, 2014

Petal Hip Scarf Tutorial


While my poor black bra top sits in the development hell of my indecision, I got inspired to work on something else.  Namely, an awesome hip scarf that my belly dance instructor wears (one of many awesome hip scarfs and belts, I must say).  It was made by another longtime dancer in the studio, but it looks just like this one on Etsy:
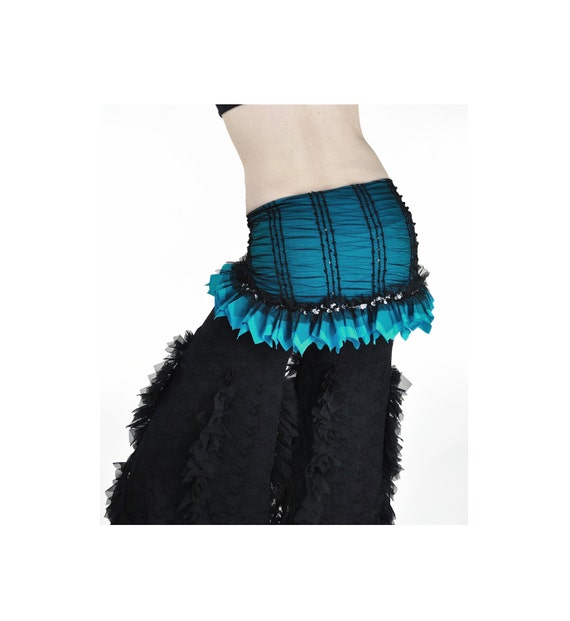
Seller dreamingamelia has several of this, but I love this one's color.


I had some leftover royal blue jersey from an infinity dress I made a few years ago*, and I thought this would be a good opportunity to use it.  Plus, it gave me something to do that didn't strain the repetitive motion injury I gave my wrist with all that crocheting last month!  (Wrist braces are my friends.)

*Two notes: One, you do need a good amount of fabric for this, probably at least 2 yards, but I didn't measure how much I used here.  Two, infinity dresses do not look good on me.  Nope nope nope.


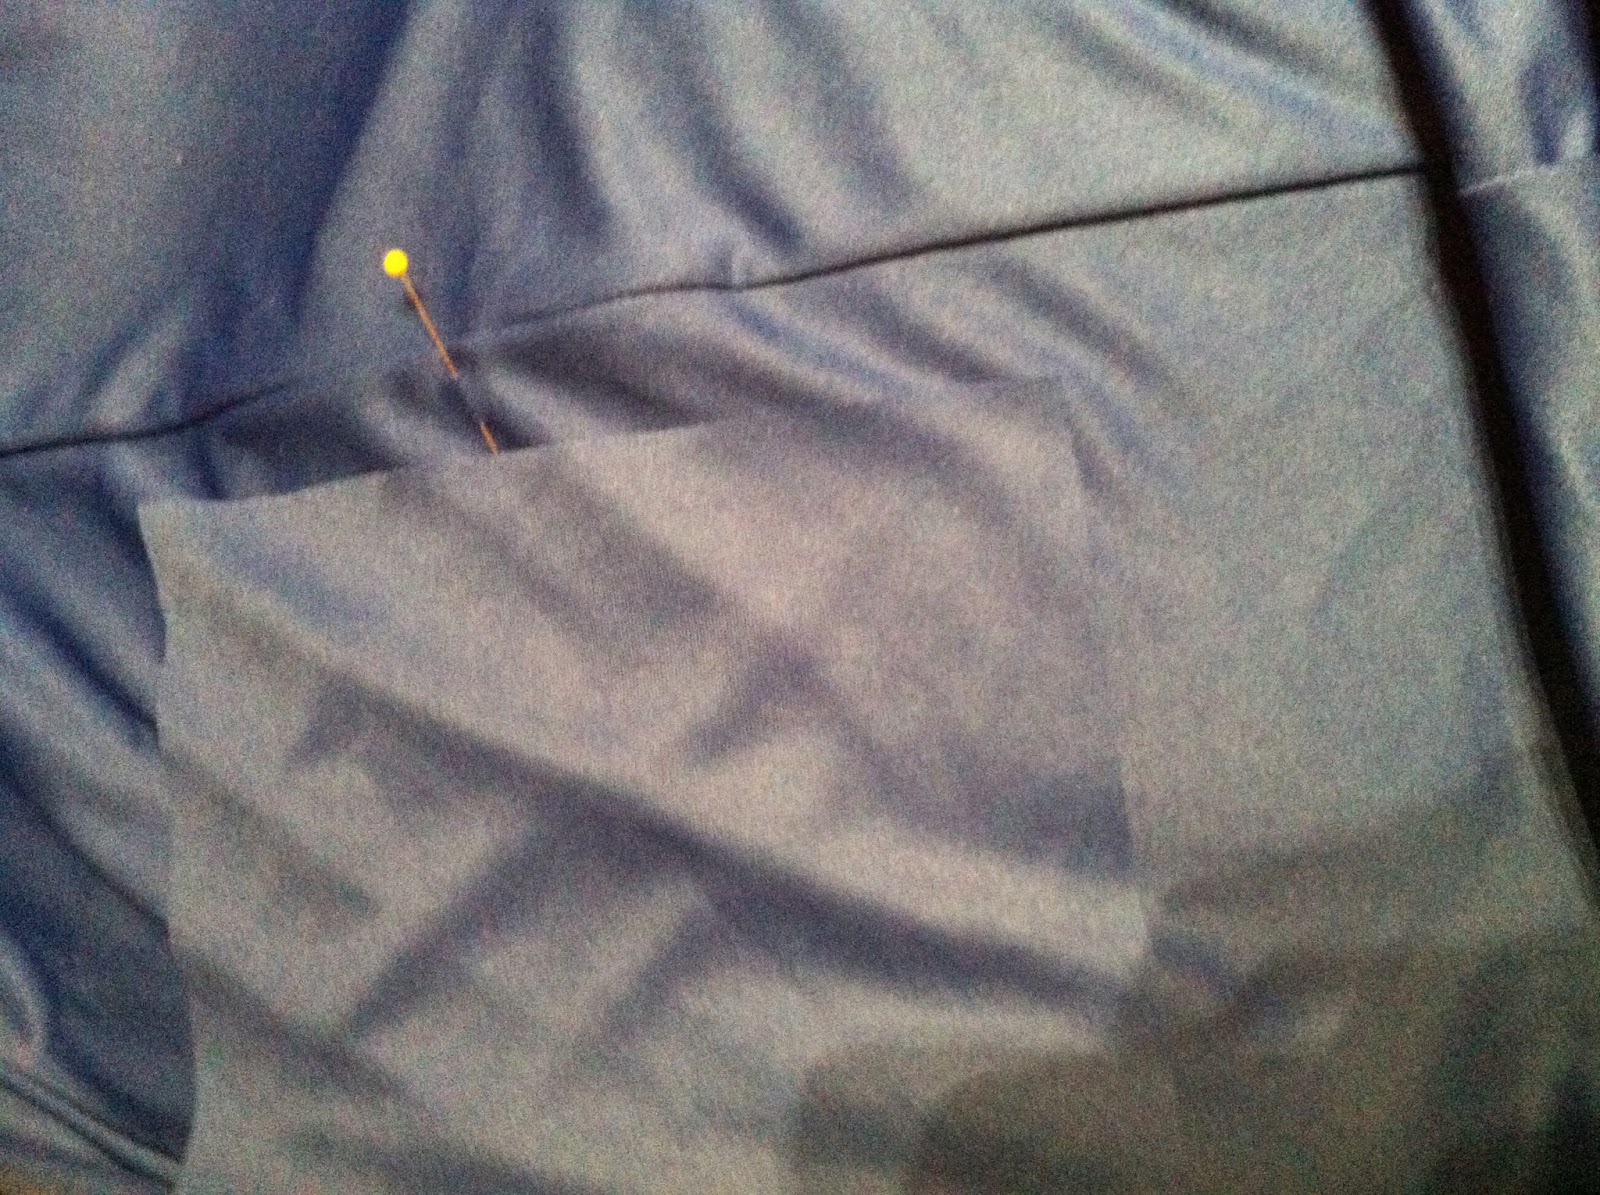
So anyway, I started off by getting a basis for the scarf itself.  I used my red pirate hip scarf as a template, pinning it to the jersey and rolling the excess up so that I could get the shape I wanted.  Unfortunately, I (again) forgot to take pictures of this bit.  Basically, you just want a slightly curved top edge, and a really wide, upside-down bell curve for the bottom edge.  Make the ends extend for the ties, unless you want them to be of another fabric entirely.  Also, to help you get a good length, measure from the base of your back to however low you want the hip scarf to go (I advise the lower edge of your butt), but don't forget to leave yourself space for seam allowances.

I did not measure my butt length (that sounds weird),
so I ended up having to trim this down a bit as I went.
 Once you've got it set up, use this template to cut two pieces of your fabric.  If you want to do the sheer black overlay or embellishment, you'll want to cut that now and anything else.  I didn't have the fabric to do it, though, so there's no tutorial for that.  Also, if you want a firmer, smoother scarf itself, you can cut some medium-weight interfacing.  I didn't have any, so I just went with it as is.

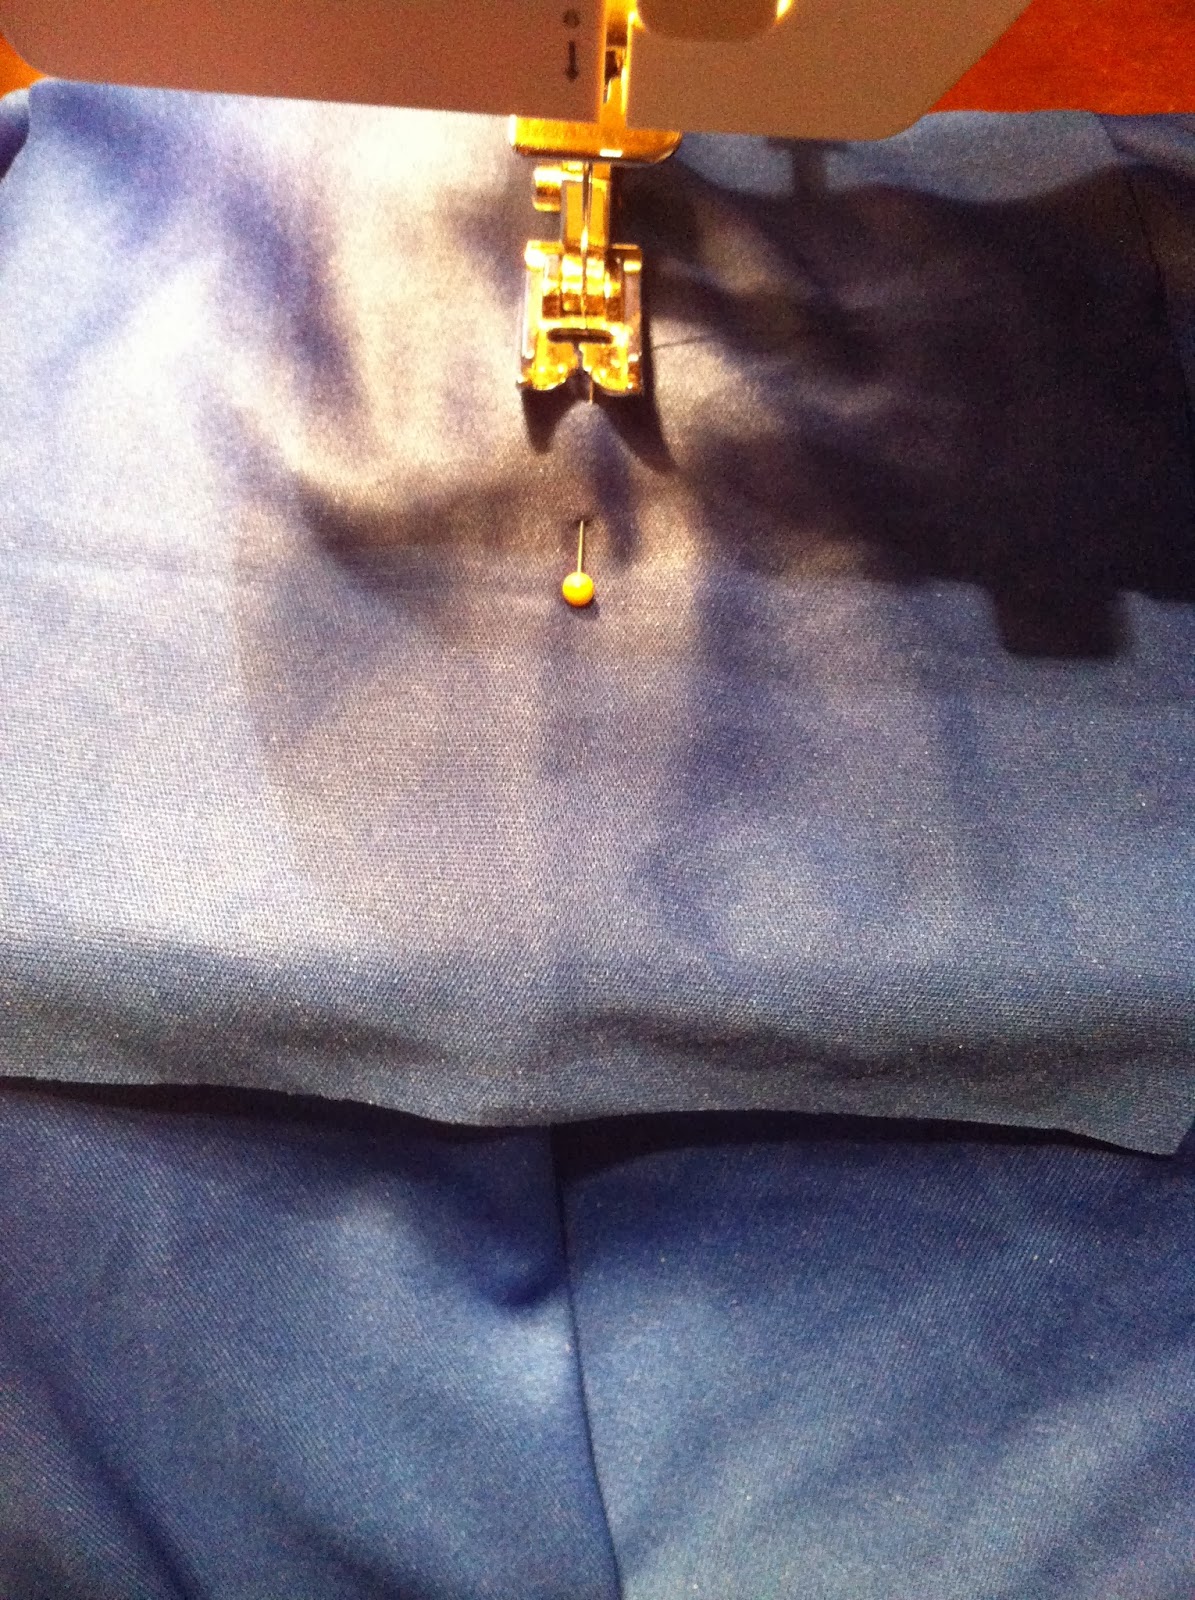
Now, sew up the bottom seam, all the way, from tie-end to tie-end.  Note, if you haven't sewn with jersey before, it can be a little nit-picky.  You need a ballpoint needle to keep from micro-tearing the fabric, and the fabric likes to bunch or overstretch depending on your tension.  For my machine, without messing with bobbin tension, the fabric sewed best on a very small zig-zag stitch on medium-low tension.

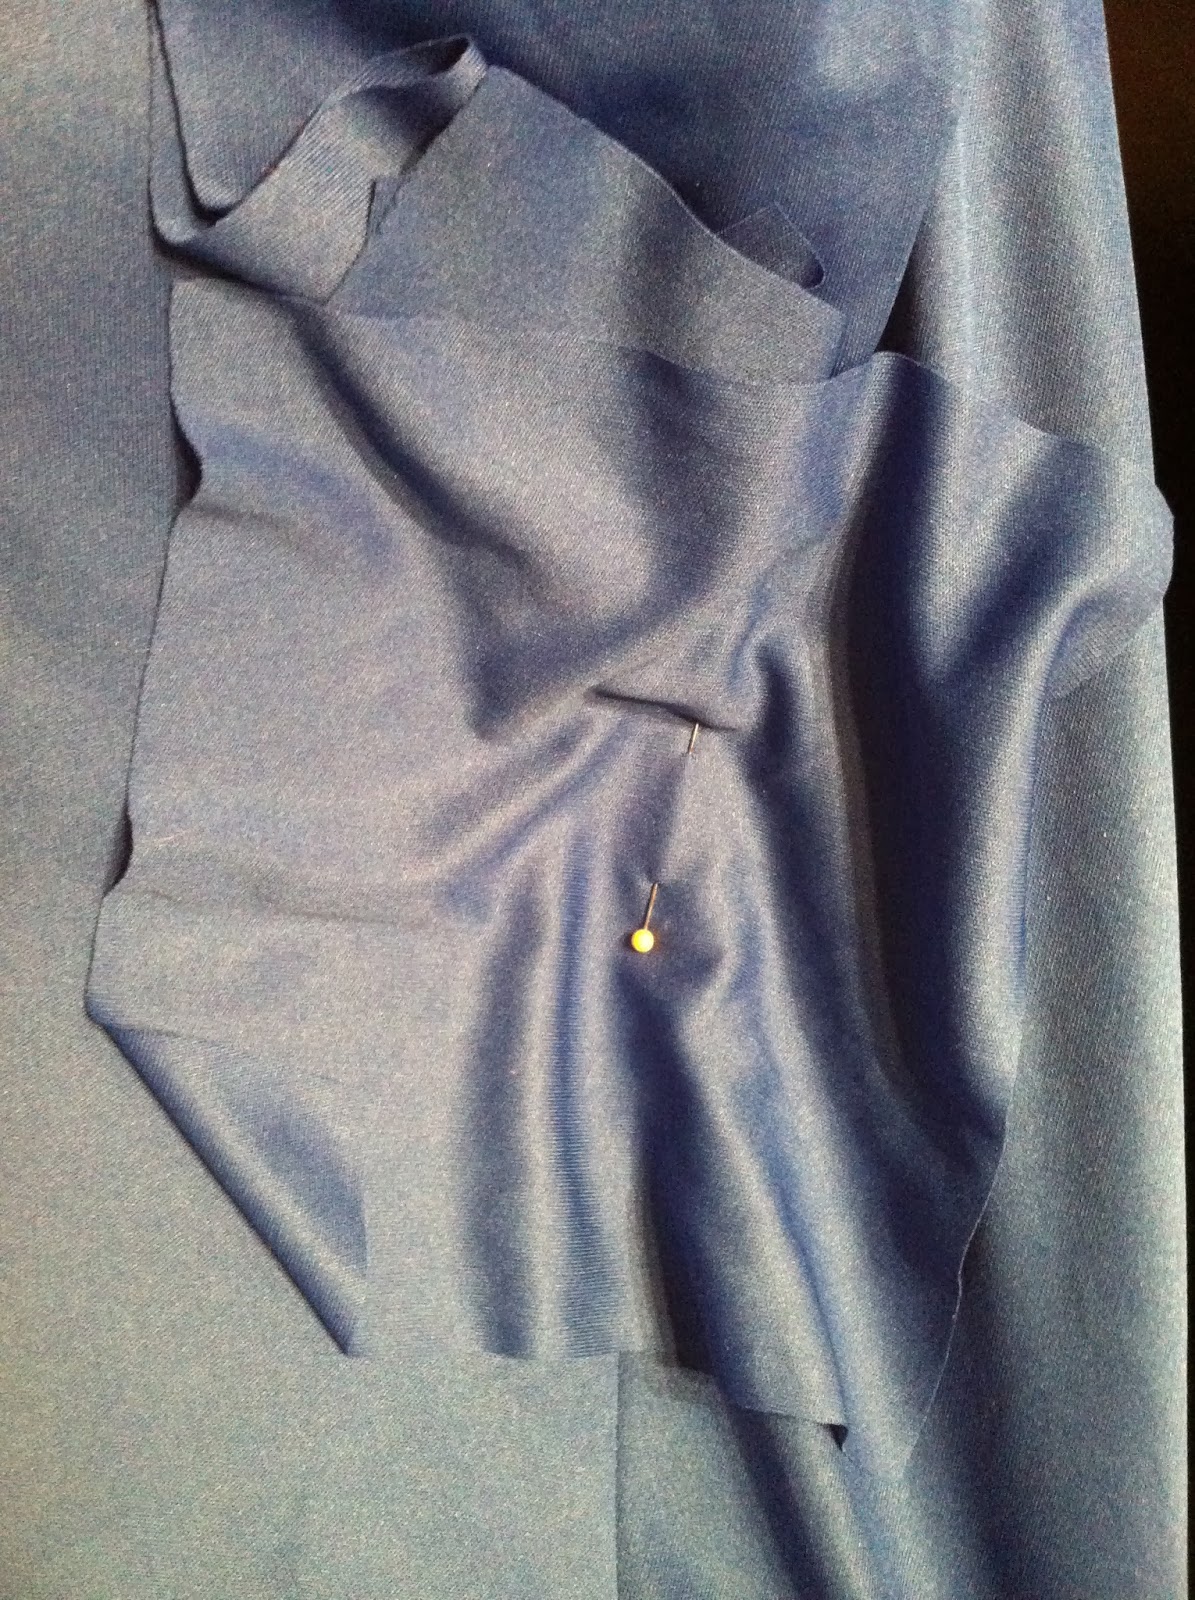
Once you've sewn the seam, hold the top seam and place the scarf around your hips (you can even tie it on) the way you would wear it.  Use this to check the scarf length and shape. Make any adjustments you need to now--it's much harder (if not impossible) to make certain changes later.  If everything's good for size and shape, put the scarf on again, and mark how far you want the petals to reach in the front.

My pins were a few inches from the tie, right in front of my hips.
At this point, you want to cut a number of squares from your remaining fabric.  I made my squares 7" x 7", and I used about 25.  You may need more or less depending on how big your hips are, how closely you place your petals, and how long much you stitch each one to the scarf.  If you want an estimate, measure the curve between your marker pins, and divide this measurement by 2.  So if the curve measures 30", you'll cut 15 squares.  This is probably the minimum number you'll need, but it's enough to get started and see how things look once you start sewing.  Also, 6" x 6" squares closer together will probably give you a fluffier end result.

Feel free to make multiple folds in your fabric so that you can cut 3-4 squares at once!

Now that you have all of the squares cut, lay the scarf flat, fold in half, and mark the bottom center.


This new pin will mark our starting spot for the next step: sewing the squares (petals) to the scarf.

Technically, you don't have to start in the center, but it helps keep things even. Unfold the scarf so that the seam lies as flat as you can get it, right-side up.  Try to make sure the seam allowances are facing the same direction all the way across--it won't mess anything up if they get a little wonky on the inside of the scarf, but it's nice to have them tidy.

The lighting here suddenly made my fabric look grey....
 Remove the center-marker pin, and pin the center of the square where it was.

The angle of this shot makes it look incredible off center.  Also, put the pin in parallel to the seam, not perpendicular
like you see here.  It will make it easier to keep things straight.
 Now, sew the square the scarf  for 1" or 2" (your choice--I did mine around 2").  Try to sew as close to the seam as you can, and be careful to avoid folds or lumps in the scarf getting caught under your stitching.
 I actually was able to use a small, straight stitch here just fine
Tada!  Your first petal is done!  I used back-stitching and tying ends to help make sure the stitching would hold up with all the dancing this will be going through.


Now repeat.  A lot.  Your petals will start piling up.  Push them opposite the direction you're laying new petals down.  

 Lay each new square, folded in half (see below) about 1/2"-1" away from the tip of the previous petal.

Unfold the square and pin along the seam. I used the point of the pin to show where the tip of the previous petal was.  This helped me see where to drop my needle, kept everything in a nice line, and kept my petals tightly spaced without overlapping.  Feel free to have some overlap if you want a REALLY fluffy skirt, but you'll have to be careful sewing, and you may need a lot more squares depending on the overlap.
That crease at the pin's point is the sewn tip of the previous petal.
Starting with the center, I did one side and then the other.  This is actually really easy--it just takes a while.  Feel free to try on your scarf as you go and see how it's looking!  


 Once you have the petals all sewn on, you can add embellishments along the bottom seam.  I was able to get the perfect length of black ribbon 50% at Hobby Lobby, so I used that, keeping decoration simple.  Note, I'm doing this before sewing the scarf closed, that way the stitching doesn't go through the back side.  Again, though, be careful that the petals or back side of the scarf don't get caught up in your stitching!


Feel free to add more.  Once you're done, though, you're finally ready to sew the top.  Turn the scarf inside-out, and match up the edges.  The petals and embellishments will make things a little awkwardly lumpy, but it'll be fine.  Sew from one tie to a few inches from the center, then do the same on the other side.  The center gap will let you turn the scarf right-side out again, and then you can slip-stitch it closed.

And we're done!  The petals have some AMAZING movement during twists and shimmies.


Sunday, May 5, 2013

Bellydance Sewing Party!


Happy Cinco de Mayo, all!

So, rather than riotous partying over Tex-Mex, today was a day of Iron Man 3 and bellydance sewing!  I have to say, I was pleasantly surprised by Iron Man, but I'll leave it at that.  It was a good way to wrap up the trilogy (assuming it stays that way).

Saturday morning, my friend Katie and I went shopping for fabric for my gala costume, and we ended up picking up that fabric I took a picture of last week.  There just weren't any good coppery fabric, but I really do like the blend of red, orange, and pink in this fabric.  I also picked up a base bra from Target, with Katie's advice serving me well once more.

After Iron Man, then, I went to a fellow bellydancer's house (and she is an amazing costumer!), to work with her, Katie, and another friend.  I focused on covering the bra, and by the end of the evening, I am almost done.

I started out like the black and red top, only this time I wanted to machine sew the darts.  I put the fabric on the opposite cup, right sides together, tacked it down and worked out the darts.  Sadly, I didn't think to take pictures during the process.  After that (with a little trial and error in between), I sewed the darts, and put the fabric piece right-side up on the correct cup.  With one side darted, I laid the other piece wrong-side up on top of it, using the first piece to guide the placement of the darts on the second.  Sew it up, and ready to move on!  (Oh, and our lovely hostess reminded me to press the seams afterwards.  THANK YOU!)


I also cut out the belt fabric and interfacing, just because.


After THAT, I went home, where I hung out with the mister and our friends visiting from out of town.  While we watched Thor, I pressed my seams and started sewing the fabric onto the bra.  Excuse the photo lighting--since we were watching a movie, I wasn't using a good light source, and I just used the camera flash for convenience.

In progress..
One side done, on to side two...
I ended the night with about 3/4 done.  Not bad!
Without flash...

With flash...


Now I have to go order some fringe, my skirt, and start looking for other decorative elements....

Orange and Purple Yarn Belt

My gala stuff wasn't the only thing going on.  Earlier in the week, I started working on the purple and orange yarn belt, and I have to say, the yarns look absolutely gorgeous together.  I can't wait to finish this.


I have a ton of extra, although not enough for a full belt, so I started putting together hair falls.  I used the mambo here, because, like I expected, it just didn't look right on the belt.  A belt solely of mambo might be pretty sweet though.  Anyway, the falls need a little more body, and I need to add more of the Jeweltone (purple multi-colored) yarn, and I need to attach them to hair bands or something...  I'll have to look that up for optimal techniques.


Just to give it some clarity and scale.


Sunday, April 28, 2013

Accent Skirts and More Yarn


Well, yet again, it's been a week without a post, but that's the end of the Spring Semester.  I'm going to try to keep myself posting--even if it's less on-topic--so that I keep on schedule.

Today, I finally got around to going to the fabric store.  Unfortunately, because it was after my nephew's birthday, I only managed to get in a little time before the store closed.  Hopefully I'll be able to go back tomorrow or Wednesday and pick up some of the other things I want/need, but I did come away with a few useful things.

First of all, I picked up some braided trim to finish the top of the black and white yarn belt.

Second, a month or so ago I almost bought a ton of yarn on clearance but passed.  This time I caved.  It was all $.97 per skein.  How could I not?  So, these will be the basis for a yarn belt in the near future.

There's orange (terracotta) and multi-shade (mostly purple and orange) eyelash....

Glitter eyelash....

And this stuff.  I think it would be great in hair falls, and depending on how it looks laid out with the others, I may save it for that.

I probably also need some heavier, more normal yarn to balance the eyelash, but this was what was on sale, so there.  It's a start, at least.

I also found some cool fabric, but I doubt I'll be using it this go round.  I just took a picture because it was cool.
Orange and Red and swirly...


By the way, I didn't buy these, but random tribal find of the day at World Market: these pretty cowrie shell bracelets.

$14.99. Probably worth it considering how long DIY would take.
Nonetheless, probably a future project in this...

Accent Skirt

The other project I started this week is an accent skirt.  They go by different names, and they're often just lumped in with hip scarves.  Here's an example:

Moondance Bellydance has a couple for sale like this one.
Well, I wanted to try to make a simpler version based on one Mr. CouchCrafting bought me at the Texas Renaissance Festival two years ago.  Basically, it's a shaped rectangle of fabric with a hole in the middle and a waistband around the hole (like your basic circle skirt in a lot of ways).

I had some really interesting red fabric (AKA not suitable for practical use) left over from a pirate costume, so I decided to experiment with it.  I made a rectangle out of what was left, and it's not very wide, but pretty long.  I cut a circle in the middle based on my hip circumference.  Turns out, I made it a bit too big, but, hey, as the popular quote says, "I'm an English major.  You do the math."  
Yes, the "holes" are meant to be there.  The fabric has a back, sheer layer that you can see through the holes.
By the way, this fabric really doesn't photograph well.  It's a nice, rich, dark red.
Because of the sheer layer, I didn't want to put elastic in the waistband and have it show through, so I decided to try shirring, using Make It & Love It's tutorial.  And OMG I LOVE SHIRRING.  It took me a few tries to get the tension right, and I'll actually have to do the whole waistband (not just a back section) because the shirring can't make up for my over-sizing; nonetheless, it's actually very easy and it really does look great.

Here are some really terrible pictures of it in progress:


Now you can actually see the shirring effect.


I ran out of elastic thread, so I'll have to go get more before it's finished.  Still.  OMG guys.  Shirring.  Try it. It's the bomb.

Sunday, March 17, 2013

Knitting Week


So this week was a week of yarn.  I've been sitting for months on two skeins of Starbella yarn that I got at Christmas, and I decided it was time to experiment.  The yarn itself is very soft, and the colors are vibrant and beautiful.  I was working with Canyon Sunrise, which is a gorgeous blend of blues and a sort of olive-y forest green.

I actually had to look up a few videos to figure out how to knit the stuff, and I found the Ben Franklin Crafts video very helpful.  They recently updated their tutorial on the basic Starbella scarf.  By the way, she's not kidding about the wooden needles.  All of mine are aluminum, inherited from my grandmother, and I was mildly regretting not having wooden needles.  The loops are big, and the yarn does slip around, so you have to be very careful that your stitches don't slide off.  But Starbella knits VERY quickly, so it's not that big a deal.

Starbella Scarf

So I started with a basic scarf but--for curiosity's sake--reversed how I placed the loop while knitting.  I didn't take any pictures, but I went through the front of the loop instead of the back, like you're supposed to.  It made for much tighter stitches, and the final result was a much smaller scarf diameter.  Given the fluffiness of the yarn, though, I actually like this better than the usual pattern's results.


Starbella Mini Hip Scarf (or Shawl)

Back in the day, I used a very simple shawl pattern (you can find it anywhere on the internet, either as yo before or in the first stitch), and I really liked how easy it was and how quickly it went.  Plus, it could technically be used as a hip scarf and easily embellished on the edges. Obviously, with plain yarn, it's nothing super special on its own, but I wanted to see how it would work with Starbella.  

I really like the shape and texture of the final project, but one skein doesn't make for a very wide scarf, so it would probably look better on a girl with slimmer hips. But from the side, it's quite flattering, I think! 


Perhaps the one downside to Starbella is that it you cannot stitch in beads, bells, or other embellishments like you could on regular yarn.  Still, such things could be sewed in by hand later.


Yarn Belt (in progress)

The Starbella pieces went so quickly (while watching season 4 of Supernatural), I decided to start working on a tribal bellydance yarn belt as well.  

Michael's had a sale on Bernat Knit or Knot when I went to pick up materials to finish the red/black bellydance top, and I couldn't pass up the opportunity to get a perfect, pre-mixed selection of yarns.  I made myself stick to a black and white set ("Jessie") and a purple one, since those are my current and projected color schemes.  


I've never done one of these before, and there are no general tutorials that I've seen, so I'm making it up as I go.  The basic idea is to sew a line of hanging yarn along the bottom edge of a belt.  Trying to pin and sew would be a monumental pain.  Attaching the yarn with a line of caulk or hot glue before sewing might work, but I don't want caulk and hot glue potentially messing up my beloved sewing machine.  It might be fine sewing carefully with a zipper foot, but this time we're sticking to fabric-esque materials.  

So, to play it safe, I grabbed some spare leather lace (suede), and decided to tie the yarn to it with a simple cow's hitch or lark's head knot.  Doing it this way means that I can easily fix mistakes and make sure I don't end up with any unintended "bald spots."  I'll still have to be careful when I sew up the belt, but it shouldn't be too bad.
Here you can see the knots on the lace.  The lace won't show once everything's sewn up.
The other consideration was how long to make the yarn strands.  The "Knit or Knot" individual yarn strands are pretty long, even folded in half for this particular type of knot, but I wanted a fairly solid line of yarn for my 45" hips.  I also have relatively short legs, so I decided to cut the yarn in half.  At that length, the knotted yarn on the lace hits about knee length instead of ankle.  

Now, I need to make the belt itself, sew everything up, decide on any embellishments, and decide on how the belt will tie on.